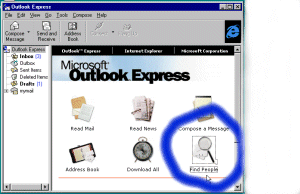
Public Library PeopleConfiguring Outlook Express for LDAP |
|
|
| |
|
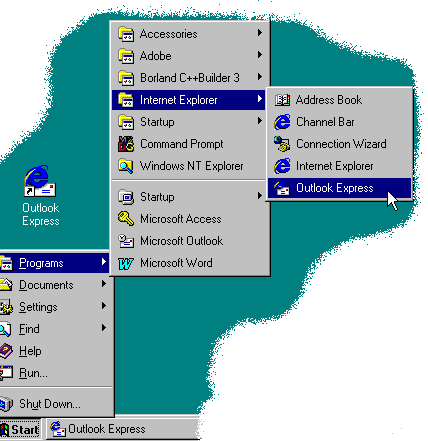
1. Select the Outlook icon in the Configuring Outlook for this |
| |
|
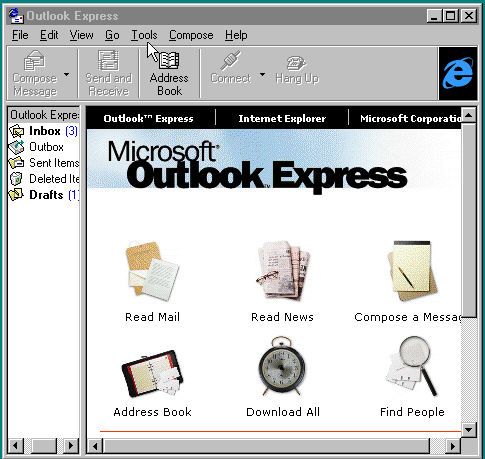
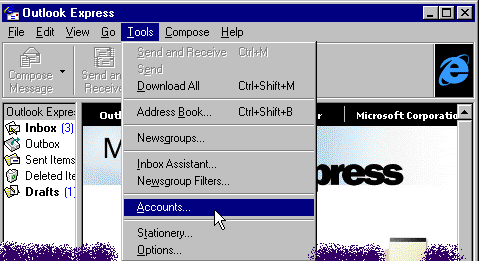
2. Select the 'tools' menu option from the menu bar at the top of the window. |
| |
|
3. |
| |
|
4. To Add the directory service click on the 'Add' button. Then in the pull-down menu select 'Directory Service'. |

| |
|
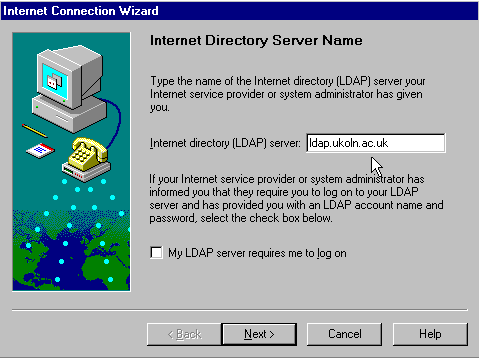
5. |
| |
|
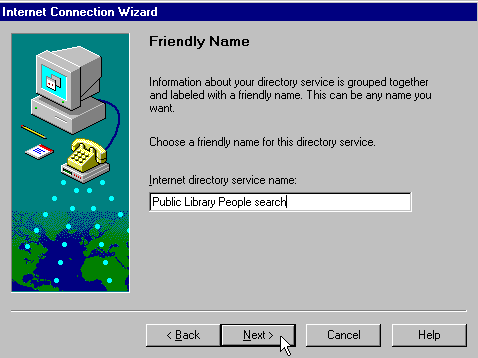
6. Choose an easy to remember name (e.g. Public Library search) Then click on 'next' and 'finished' |
| |
|
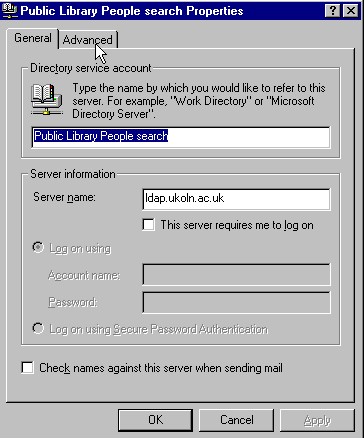
7. Almost there! Highlight the new |

| |
|
... click on the 'advanced' tab |
| |
|
8. This is the last part, however, the following string must be entered with care, it is a LDAP search string (cryptic looking - don't be concerned with the odd syntax just enter it as shown - no quotes) "cn=glamPeople, dc=ukoln,dc=org" again, this is how string looks |
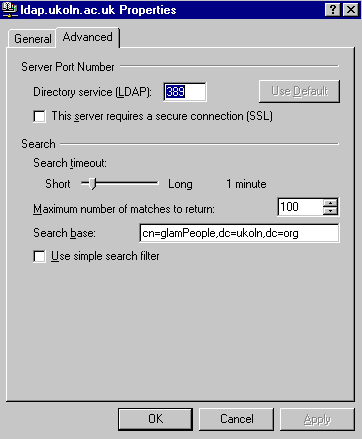
"cn=glamPeople,dc=ukoln,dc=org" | |
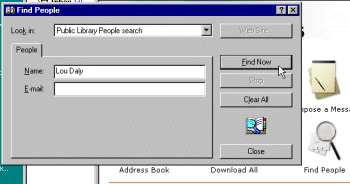
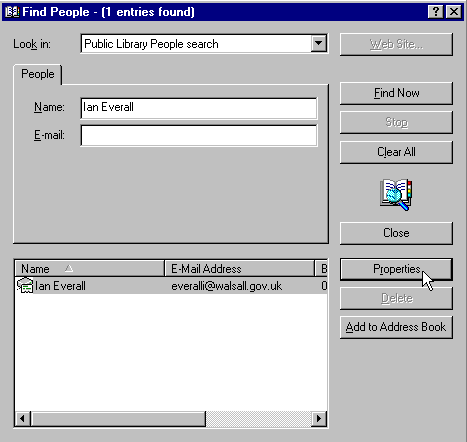
Finished !Now try a search "Andy Powell" is sure to be in there. |
|

|


